Unlock the Secret to Crispy Garlic Green Beans Without a Trace of Burnt Garlic
Few side dishes bring as much vibrant flavor and satisfying texture to a meal as perfectly cooked green beans. Yet, many home cooks face a common frustration when attempting to create those coveted garlic roasted green beans: the delicate garlic burns to a bitter crisp long before the beans achieve their tender-crisp glory. You pull your sheet pan from the oven, anticipating that irresistible aroma, only to be met with the acrid scent of scorched garlic and disappointingly limp beans.
If this scenario sounds familiar, you’re not alone. The culprit is often a single-phase cooking approach where everything is tossed together from the start, subjecting the heat-sensitive garlic to temperatures meant for sturdier vegetables. But what if we told you there’s a simple, elegant solution? The secret lies in a revolutionary two-phase method that guarantees intensely flavorful, unburnt garlic and beautifully charred, crispy green beans every single time. Get ready to transform your understanding of this classic side dish, achieving perfect tender-crisp garlic green beans in under 30 minutes, bursting with flavor and health benefits.
The Science Behind the Sizzle: Why the Two-Phase Method Works Wonders
Understanding the fundamental differences in how green beans and garlic react to high heat is key to mastering this dish. The two-phase method isn't just a trick; it's a scientifically sound approach that respects each ingredient's unique cooking needs.
Phase One: The Maillard Reaction and Moisture Control for Crispy Beans
The first phase focuses entirely on the green beans, creating a perfect environment for crisping and developing deep flavors. This is where the magic of the Maillard reaction comes into play. When fresh green beans are roasted at a high temperature (around 425°F / 220°C) without garlic, their natural sugars caramelize, and amino acids react, creating those desirable browned, slightly charred edges and a rich, complex flavor profile that can't be achieved otherwise.
Crucially, before they even touch the heat, the green beans must be bone-dry. Excess moisture is the enemy of crispiness. If the beans are wet, the initial high heat will cause them to steam rather than roast, resulting in a soggy, boiled texture instead of a satisfying snap. This is why patting your beans bone-dry with a clean towel is a non-negotiable step for achieving truly Master Crispy Garlic Green Beans. Opt for fresh green beans, as frozen varieties release too much water, making crisping nearly impossible. The high heat also breaks down the pectin in the beans, ensuring they become tender without losing their structural integrity.
Phase Two: Gentle Infusion for Fragrant, Unburnt Garlic
Garlic, while robust in flavor, is delicate when exposed to direct high heat. Its natural sugars burn quickly, turning it acrid and bitter. This is precisely why the traditional one-pan method often fails. The two-phase secret prevents this by introducing the finely minced garlic *after* the beans have mostly cooked and the intense direct heat has subsided.
Once the beans are perfectly roasted, they are removed from the direct heat of the oven. The minced garlic is then tossed with the hot beans and returned to the still-warm baking sheet for just a few minutes, or sometimes, even the residual heat of the hot pan and beans is enough to gently toast the garlic. This indirect, residual heat allows the garlic to mellow, bloom, and infuse its aromatic punch without scorching. Instead of bitter, black flakes, you get a golden, nutty, fragrant garlic that enhances, rather than overwhelms, the dish. Finely mincing the garlic is also critical here; smaller pieces toast more evenly and release their flavor more efficiently with gentle heat, preventing larger chunks from burning unevenly.
Mastering the Method: A Step-by-Step Guide to Perfect Garlic Roasted Green Beans
Achieving outstanding garlic roasted green beans is simpler than you think when you follow this two-phase approach. Here’s how to do it:
1. Ingredient Selection & Preparation is Key
- Fresh Green Beans (1 lb for 4 servings): Look for vibrant, bright green beans with smooth pods. They should snap crisply when bent, indicating freshness. Avoid any with soft spots, wrinkles, or wilting. Trim the tough stem ends; there’s no need to trim the wispy tips unless they are brown or shriveled.
- Garlic (4-6 cloves): Fresh is always best. Finely mince your garlic using a sharp knife. A garlic press works in a pinch, but avoid food processors which can create uneven chunks prone to burning. The goal is a uniform, fine mince to maximize surface area for even flavor distribution and gentle toasting.
- Olive Oil (3-4 tbsp): A good quality extra-virgin olive oil will impart a richer flavor, but regular olive oil holds up perfectly well at high temperatures. Most of it will coat the beans for crisping, with a small amount reserved for the garlic if needed.
- Seasoning: Simple salt (1/2 tsp) and freshly ground black pepper (1/4 tsp) are all you need to highlight the beans' natural sweetness and the garlic's pungency.
2. The Crucial Dry-Out Phase
After trimming your green beans, wash them thoroughly and then spread them out on a clean kitchen towel. Pat them absolutely bone-dry. This step cannot be overstated – it is fundamental to achieving a crispy texture. Any lingering moisture will steam the beans, leaving them limp and soggy instead of delightfully crisp.
3. The Two-Phase Roasting Process
- Preheat Oven & Prepare Pan: Preheat your oven to a high 425°F (220°C). Line a large baking sheet with parchment paper for easy cleanup and to prevent sticking. A crowded pan will also steam the beans, so use two sheets if necessary to ensure a single layer.
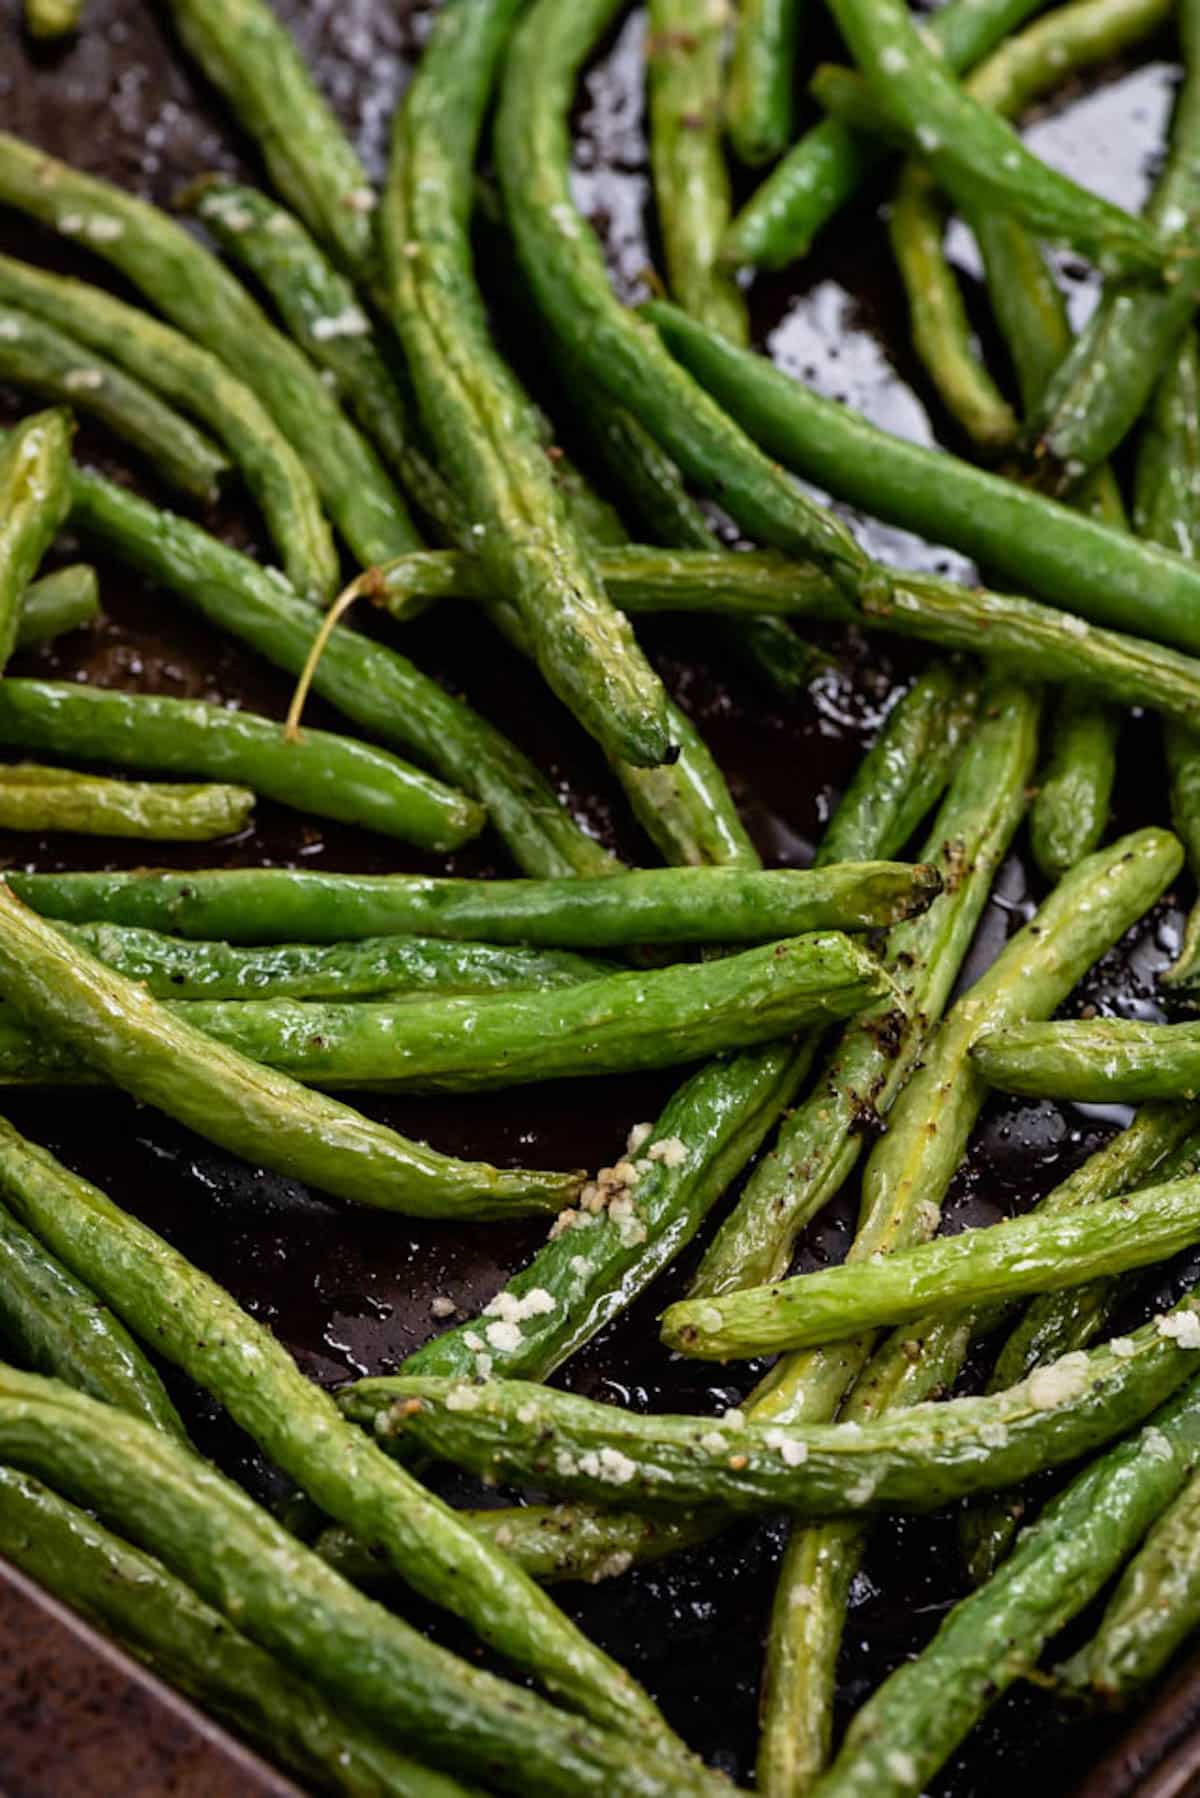
- Phase One: Roast the Beans Solo (10-15 minutes): In a large bowl, toss the dry green beans with 2-3 tablespoons of olive oil, salt, and pepper until evenly coated. Spread them in a single layer on your prepared baking sheet. Roast for 10-15 minutes, or until the beans are tender-crisp with visible browned and slightly charred spots. You'll notice the Maillard reaction doing its work!
- Phase Two: Introduce the Garlic (2-5 minutes): Remove the baking sheet from the oven. Add the finely minced garlic directly to the hot beans on the sheet pan. Drizzle with an additional tablespoon of olive oil if the beans appear dry. Toss everything together vigorously, ensuring the hot beans and residual oil coat the garlic. Return the baking sheet to the oven for an additional 2-5 minutes, or until the garlic is fragrant and lightly golden, *not* brown or burnt. Watch it carefully, as garlic can turn quickly. Alternatively, if your beans are already very hot and the pan is searing, sometimes simply tossing the garlic with the hot beans off the heat for 2-3 minutes is enough to bloom it without returning to the oven.
Serve immediately and enjoy the perfect balance of crispy beans and fragrant, non-bitter garlic!
Beyond the Basics: Elevating Your Garlic Roasted Green Beans
While the classic preparation of garlic roasted green beans is a standalone star, there are many ways to customize and enhance this versatile side dish:
- Zesty Lemon Kick: A squeeze of fresh lemon juice or a sprinkle of lemon zest just before serving adds a bright, tangy counterpoint that cuts through the richness of the oil and garlic.
- Nutty Crunch: For an extra layer of texture and flavor, toss in some toasted slivered almonds or pine nuts during the last few minutes of roasting, or sprinkle them on top just before serving. This adds a delightful crunch that pairs beautifully with the tender-crisp beans.
- Spicy Flair: A pinch of red pepper flakes added with the garlic in phase two will give your beans a subtle warmth and zesty kick.
- Herbal Infusion: Fresh herbs like thyme, rosemary, or a sprinkle of finely chopped parsley or chives at the end can elevate the dish with their aromatic complexity.
- Cheesy Indulgence: A generous dusting of grated Parmesan cheese immediately after removing the beans from the oven adds a savory, umami-rich finish that melts deliciously into the hot beans.
These garlic roasted green beans make an outstanding healthy veggie side dish for virtually any meal. They are particularly fantastic as a holiday side for Thanksgiving or Christmas, pairing perfectly with roasted turkey, baked ham, or beef roasts. Their quick preparation time also makes them an ideal choice for busy weeknight dinners alongside grilled chicken, baked fish, or a hearty steak. For more quick and easy dinner inspiration, remember that you can achieve Perfect Tender-Crisp Garlic Green Beans in Under 30 Minutes!
When it comes to storage, these beans are best enjoyed fresh to appreciate their crisp texture. If you have leftovers, store them in an airtight container in the fridge for up to 3 days. To reheat, spread them on a baking sheet and warm them in a hot oven (around 375°F / 190°C) for a few minutes until heated through and slightly re-crisped.
Savor the Perfection: No More Burnt Garlic!
Gone are the days of scorched garlic and soggy green beans. By understanding the distinct needs of each ingredient and embracing the simple yet powerful two-phase roasting method, you can consistently achieve truly exceptional garlic roasted green beans. This technique ensures every bite delivers tender-crisp texture, deeply developed flavors, and the aromatic punch of perfectly toasted garlic. It’s a game-changer for anyone who loves green beans and craves that perfect, unadulterated garlic flavor. So, gather your fresh ingredients, embrace the two-phase secret, and prepare to elevate your side dish game to new, crispy heights!
